
My darling niece, Amelie, is three. She is adorable, smart, girly, a great big sister, a little bit bossy ;), and loves the color purple. So for her dresser rehab last weekend shades of purple was the obvious ombre choice. In my last blog I talked about the old Malm Ikea dresser I was going to work with for this project. Saturday afternoon I headed out to Palatine with Noah, the dog and a bike in my small car. I was ready to work and knew I only had a short time to complete this project. My wonderful bro-in-law, Keith, moved the dresser to the garage for me and it was ready to go when I walked in their door.

Unfortunately, it wasn’t in the condition I thought it was in, which meant there were a few more steps than I was anticipating before the painting began. There were scratches and some of the laminate (?) was missing. The back was also not nailed down, so I got a new nail and took a couple swings and fixed that little dilemma. My sister, Susie, sat by amazed and told me how it had been like that for years. I know I’m pretty darn amazing these days. 🙂
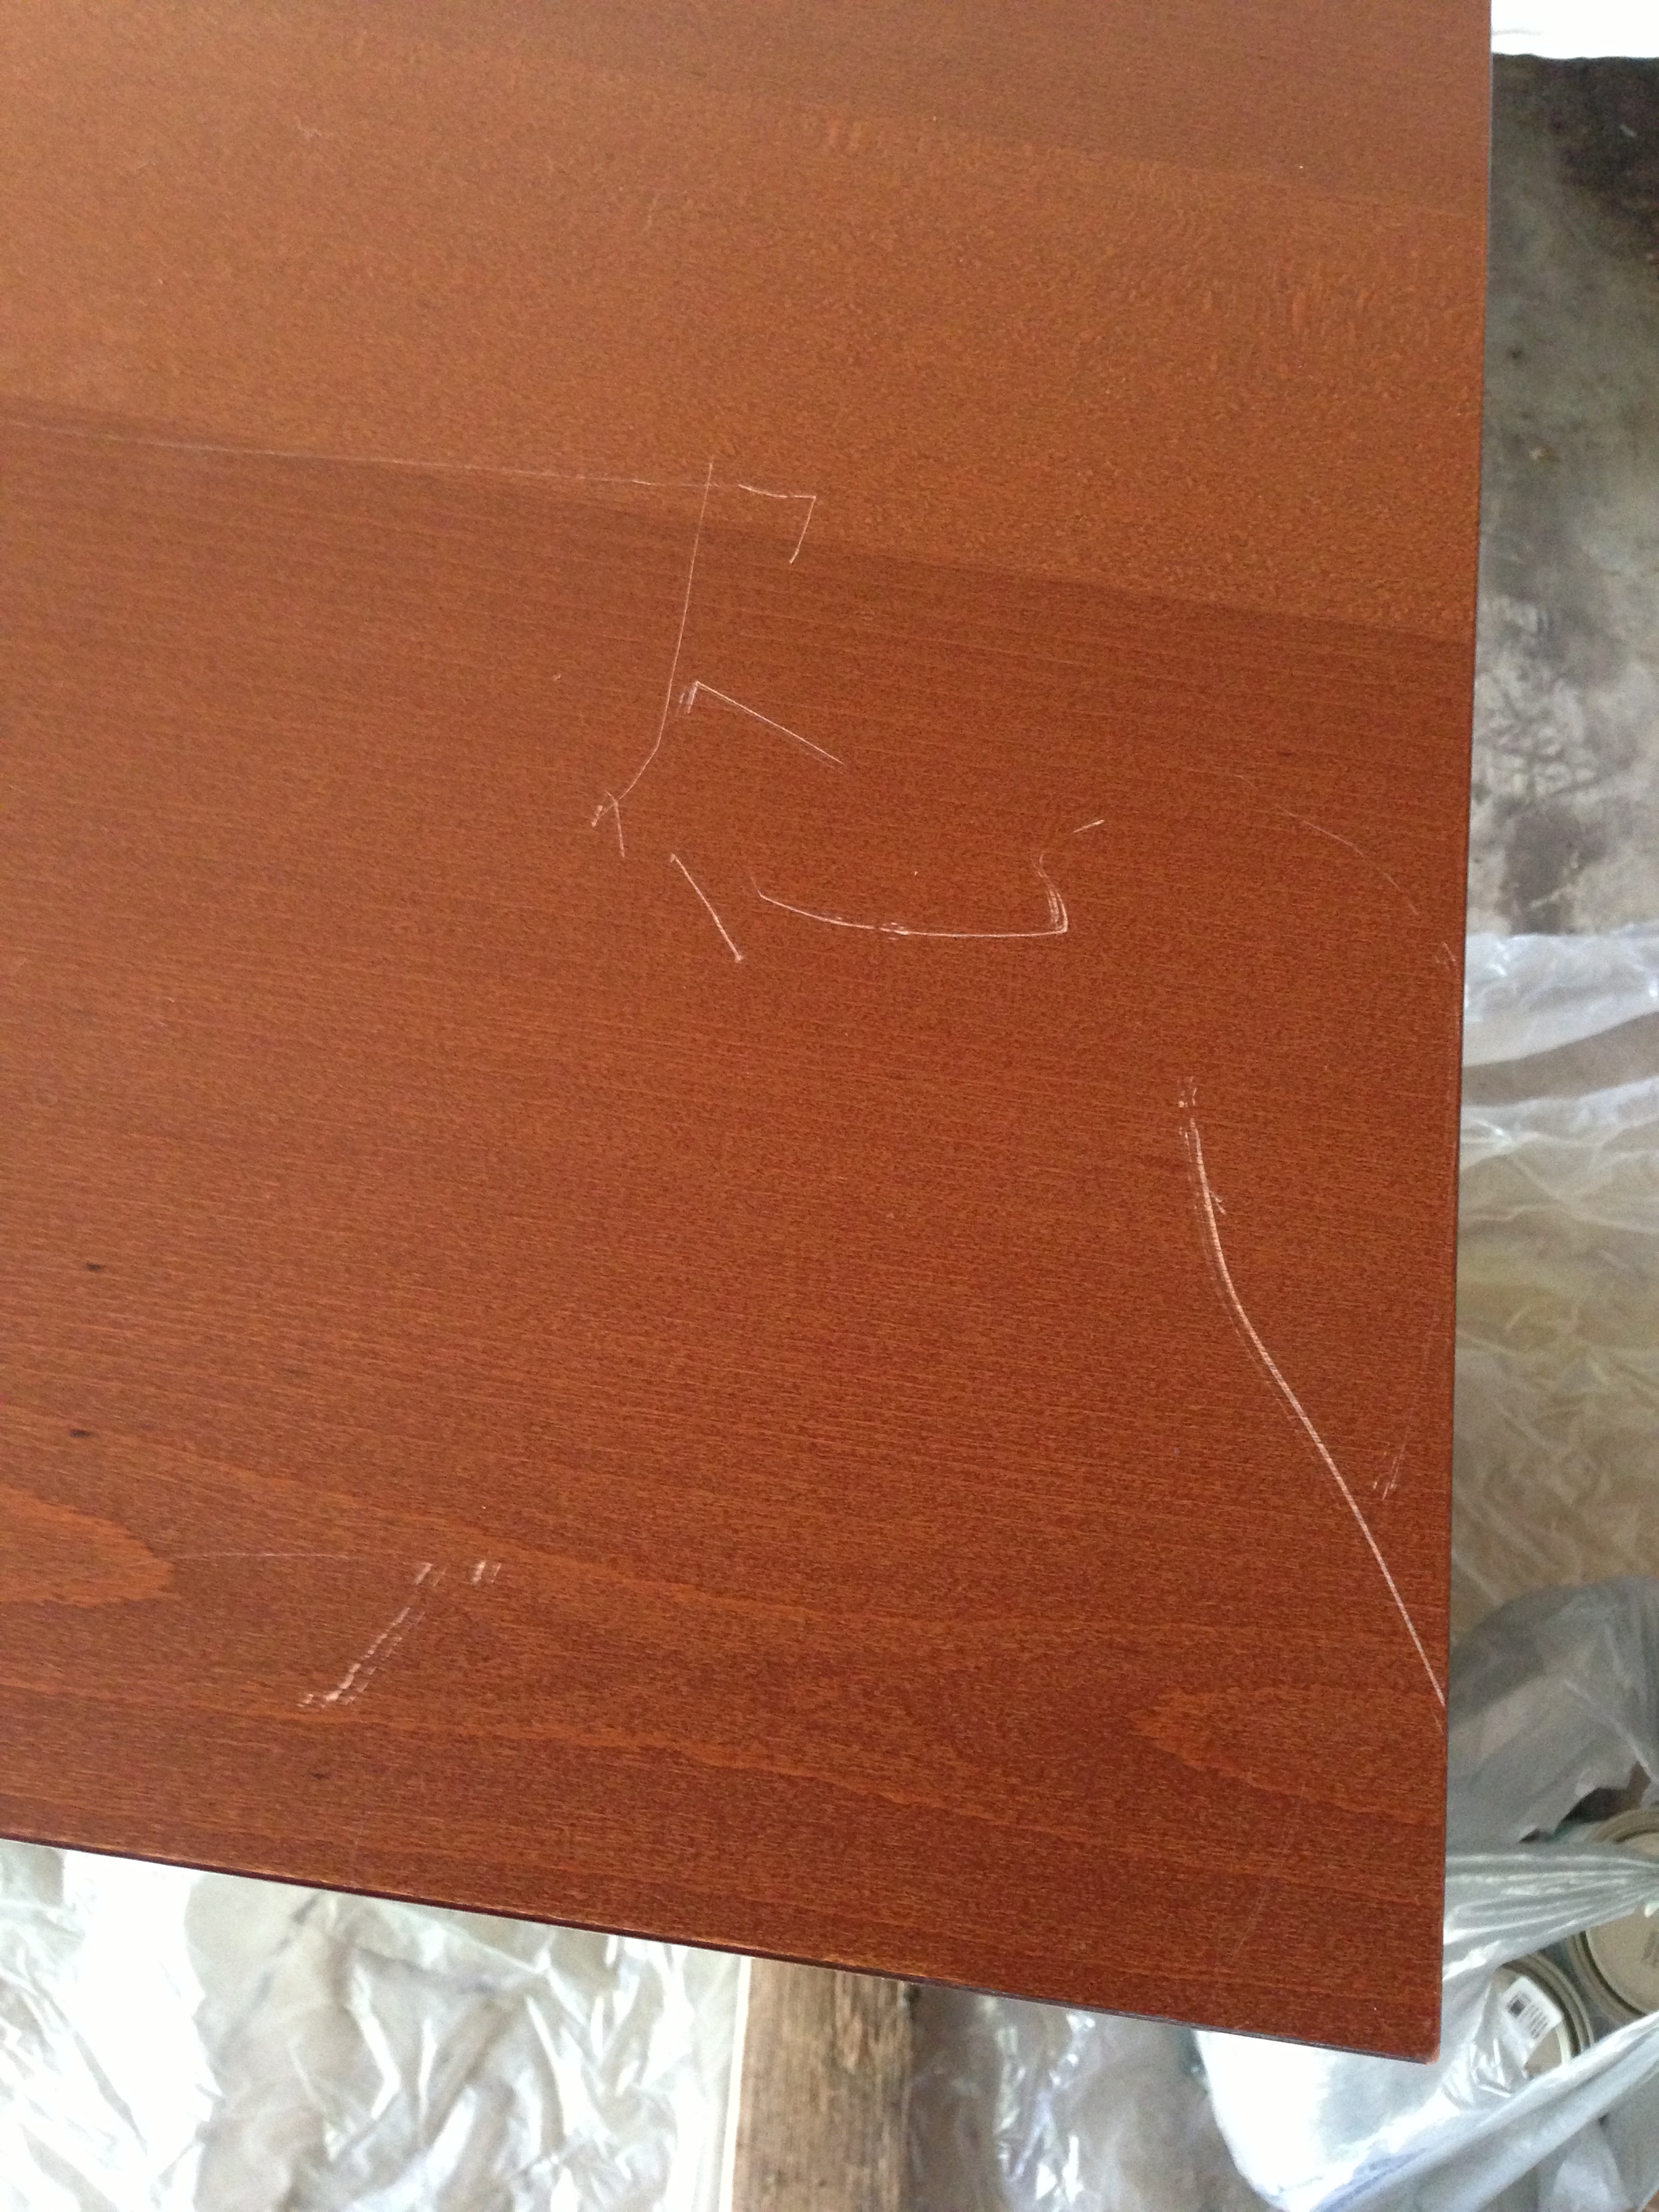

I got to work sanding and after consulting my sister, decided to just pry the rest of the laminate off of that side. I used a flathead screwdriver if anyone is interested. Luckily, that end of the dresser is up against a wall in Melie’s bedroom, so if it didn’t look great no one would know, well with the exception of all of you, anyway. Then, I asked Keith for a rag to prep the dresser for the fun part- painting, duh! That is when I witnessed him grab a pair of jeans and cut this for me.

Ok, a little odd, maybe I should get them rags as a housewarming gift? Luckily, it turns out denim works just fine wiping off dust and dirt from a dresser. 🙂
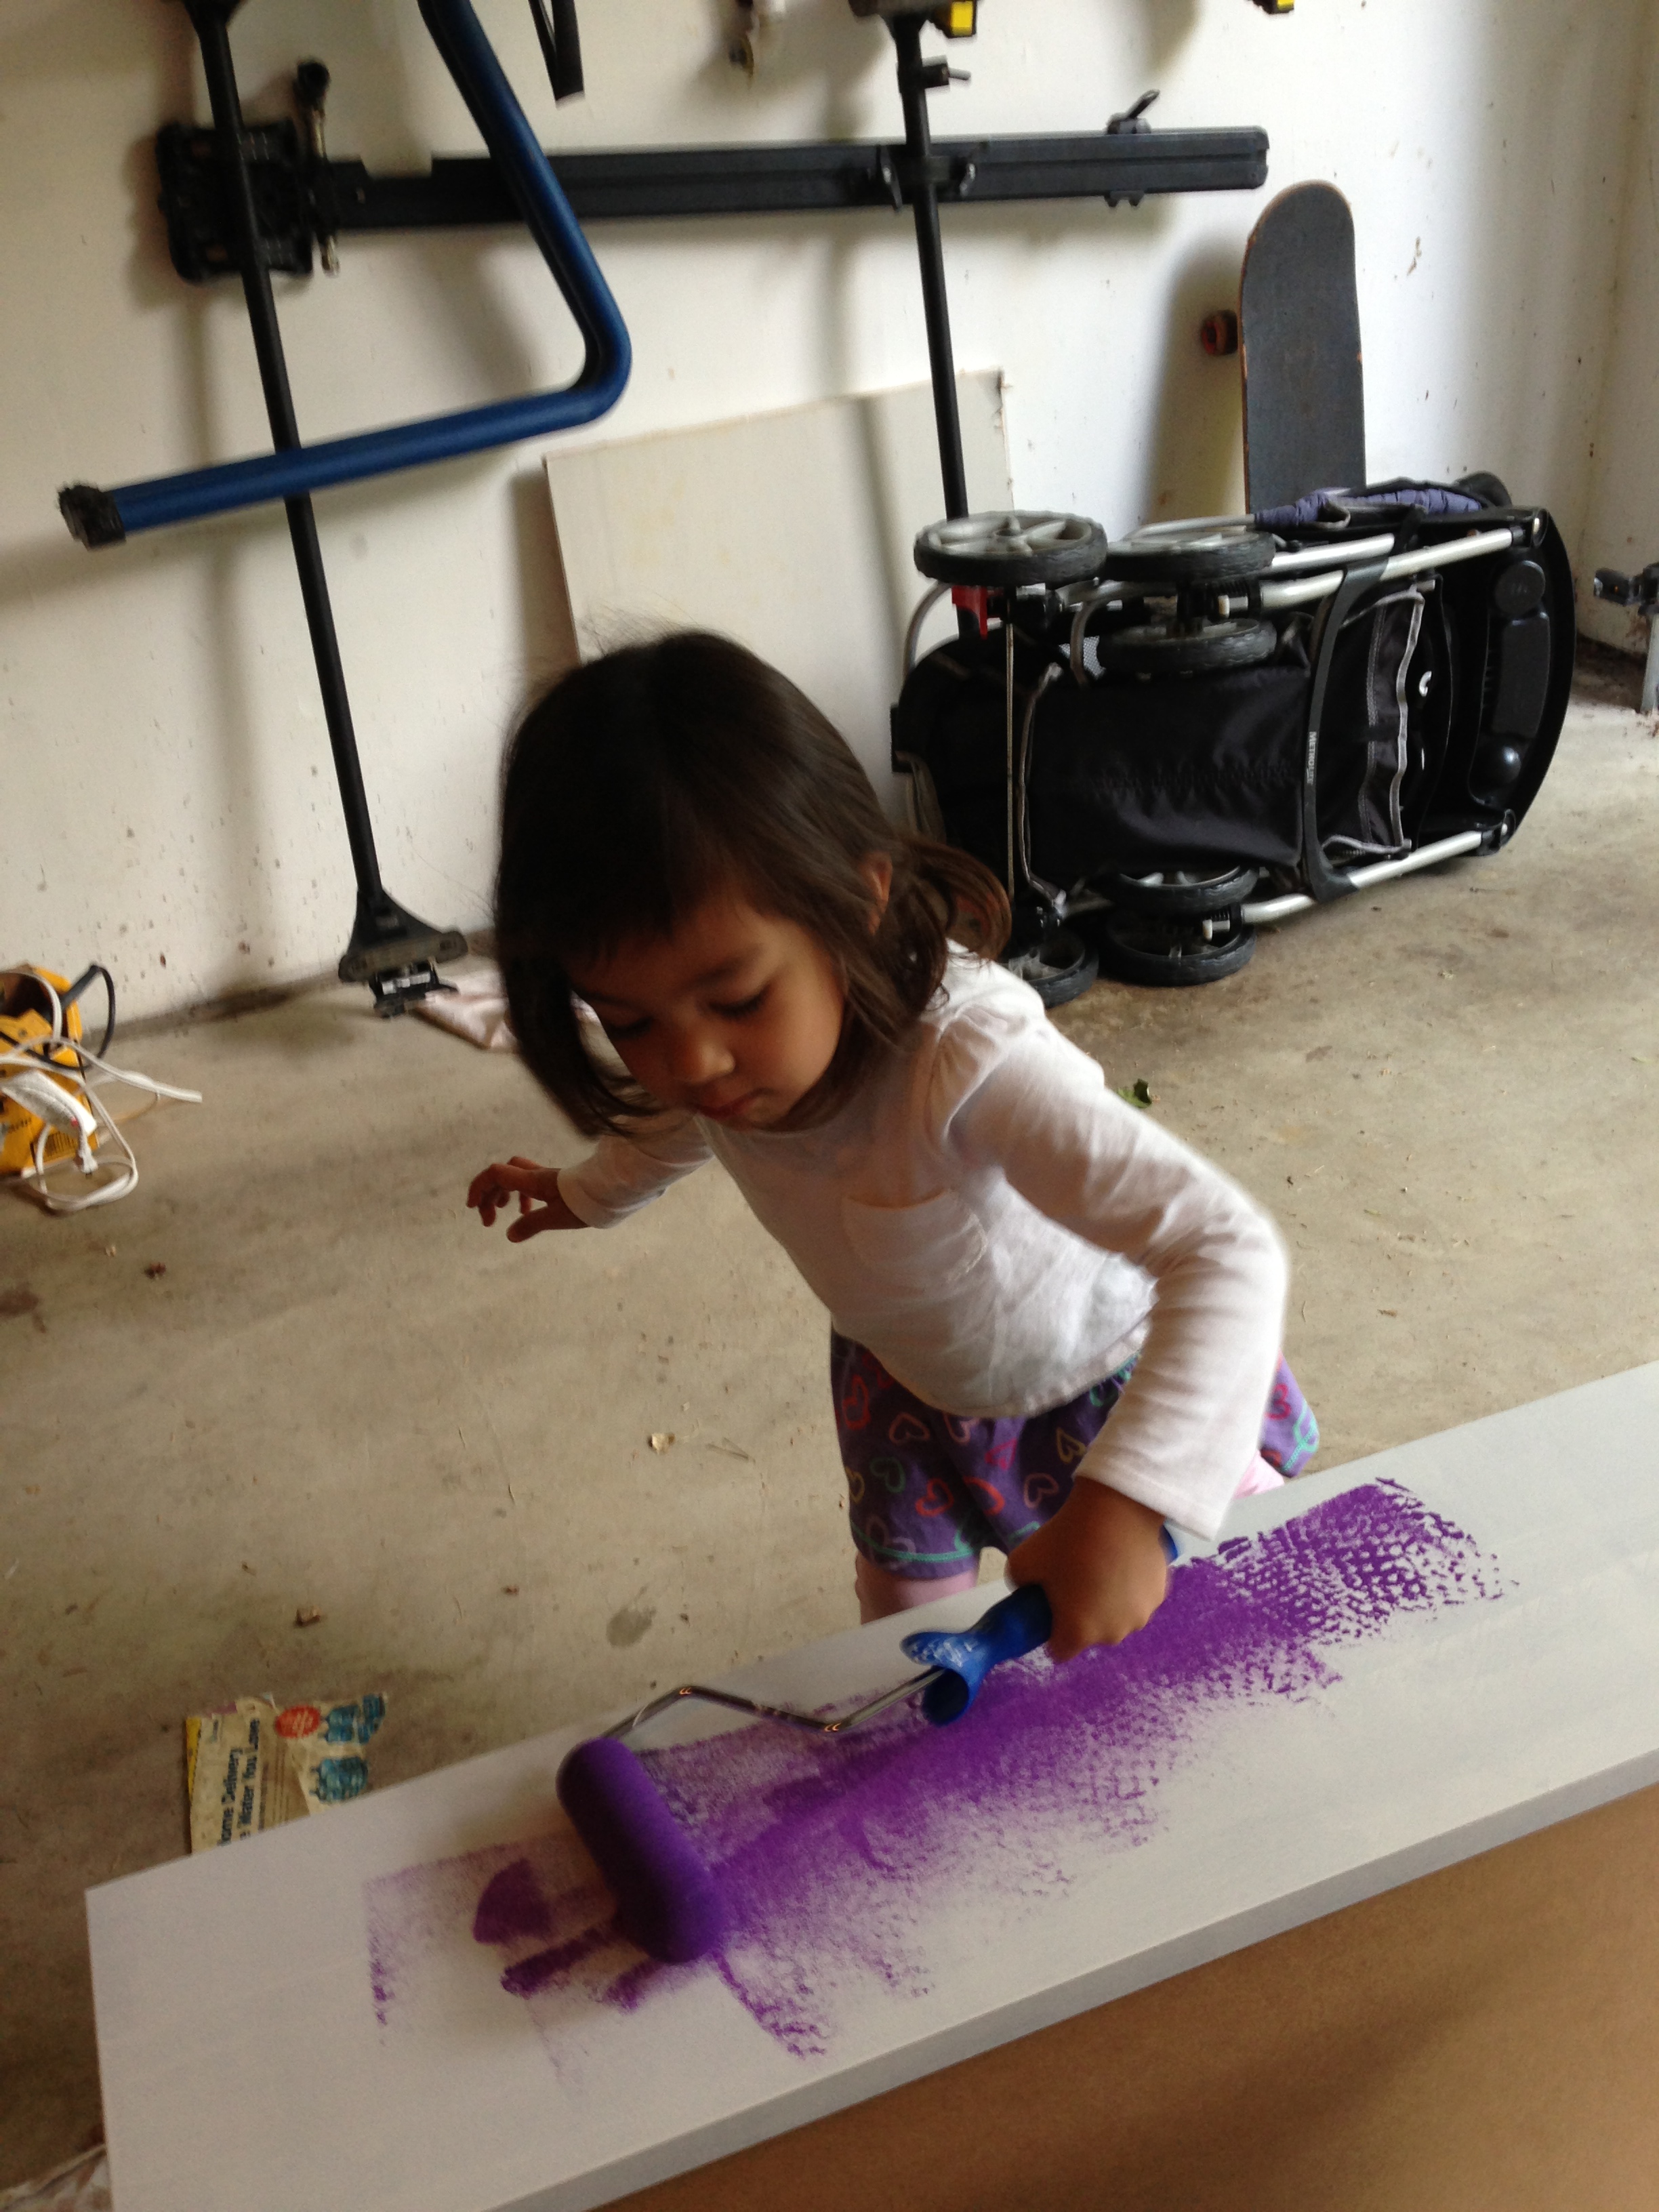
Remember when I told you about this miracle in a can? Well, I cracked that baby open and started rolling away. For this project I used a 4″ foam roller, which happens to be my new best friend. Love is an understatement for how easily and smooth the primer went on. I even had a guest painter for the job. Although the entire time she told me, “I don’t want white. I want purple.”

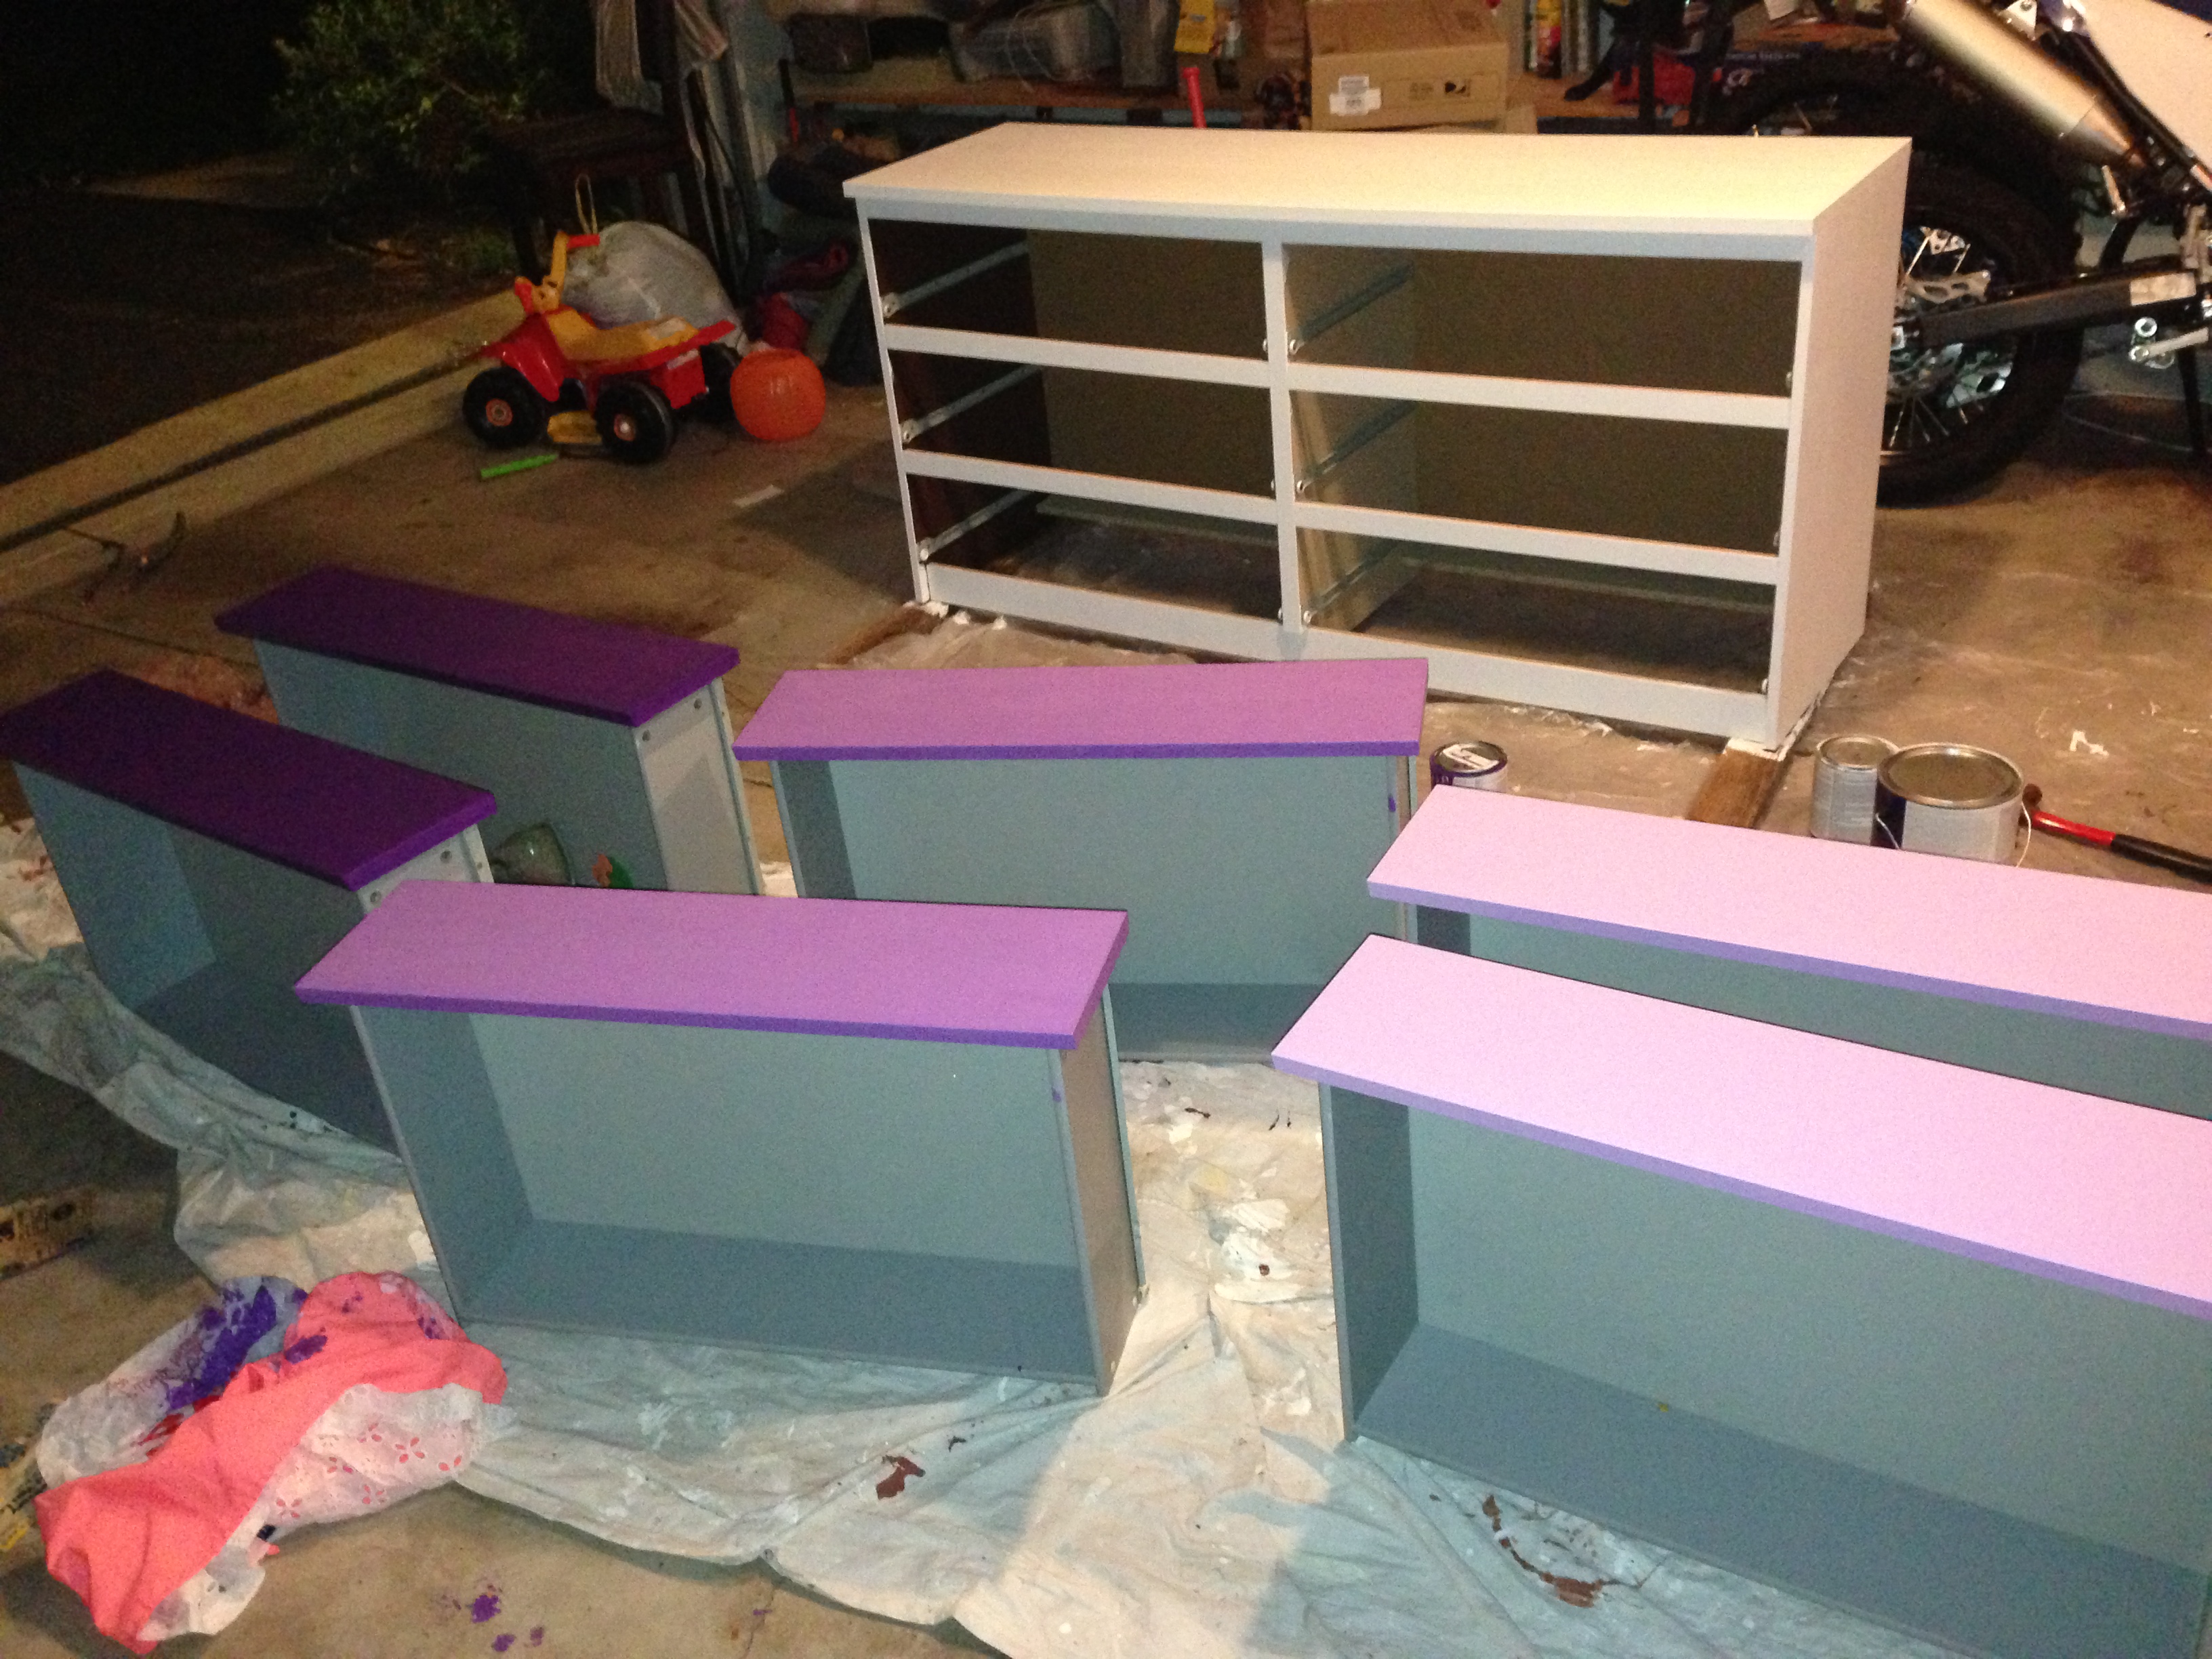
Before long the dresser and drawers looked like this. Note the cutest photo bomb ever! That’s Ian, my 5 month old nephew! Love him!

I think this is the point that I went inside and saw this:


Must be nice!
When I returned to the project I painted the dresser white. I have to say it was pretty easy- too easy in fact. I was giving myself props for putting multiple costs of primer on the dresser because it sooooo helped with coverage. While the white paint was drying, I started the two bottom drawers. I invited Melie to help with the purple.
This dark color didn’t go on as easily and after two coats still looked like this.

I started to worry a little about the coverage with a dark color and would have loved to put a million coats on all at once, but I was patient and gave the drawers time to dry between coats.
Wait time was hard. Did I mention I only brought one roller? Keith suggested I use a plastic bag and pull off the foamy part and just put another one on. I took his advice and moved on to the next drawers. I thought to myself instead of just “winging it” like with the drawers I did for my craft room, I would be more technical this time around. I got creative and cut myself this from my water bottle to use as a measuring cup.

Genius, right? Well, nope. I ended up just using it as a scoop. I carefully mixed white and purple and painted the next two drawers. I loved the coverage once again. I also decided they would be the top drawers because they were pretty light. If you are attempting to paint over laminate and white primer, light colors are easiest and most rewarding! I got another plastic bag for the rolly thing and haphazardly mixed more paint and painted the last two drawers. Before second coats, I took very fine sandpaper and lightly sanded away any chunks of paint or other elements that may have fallen onto the drawer. I decided this time I’d ask Susie for a rag and she gave me this:

I tell ya, they use the darndest things for rags around that house. 🙂
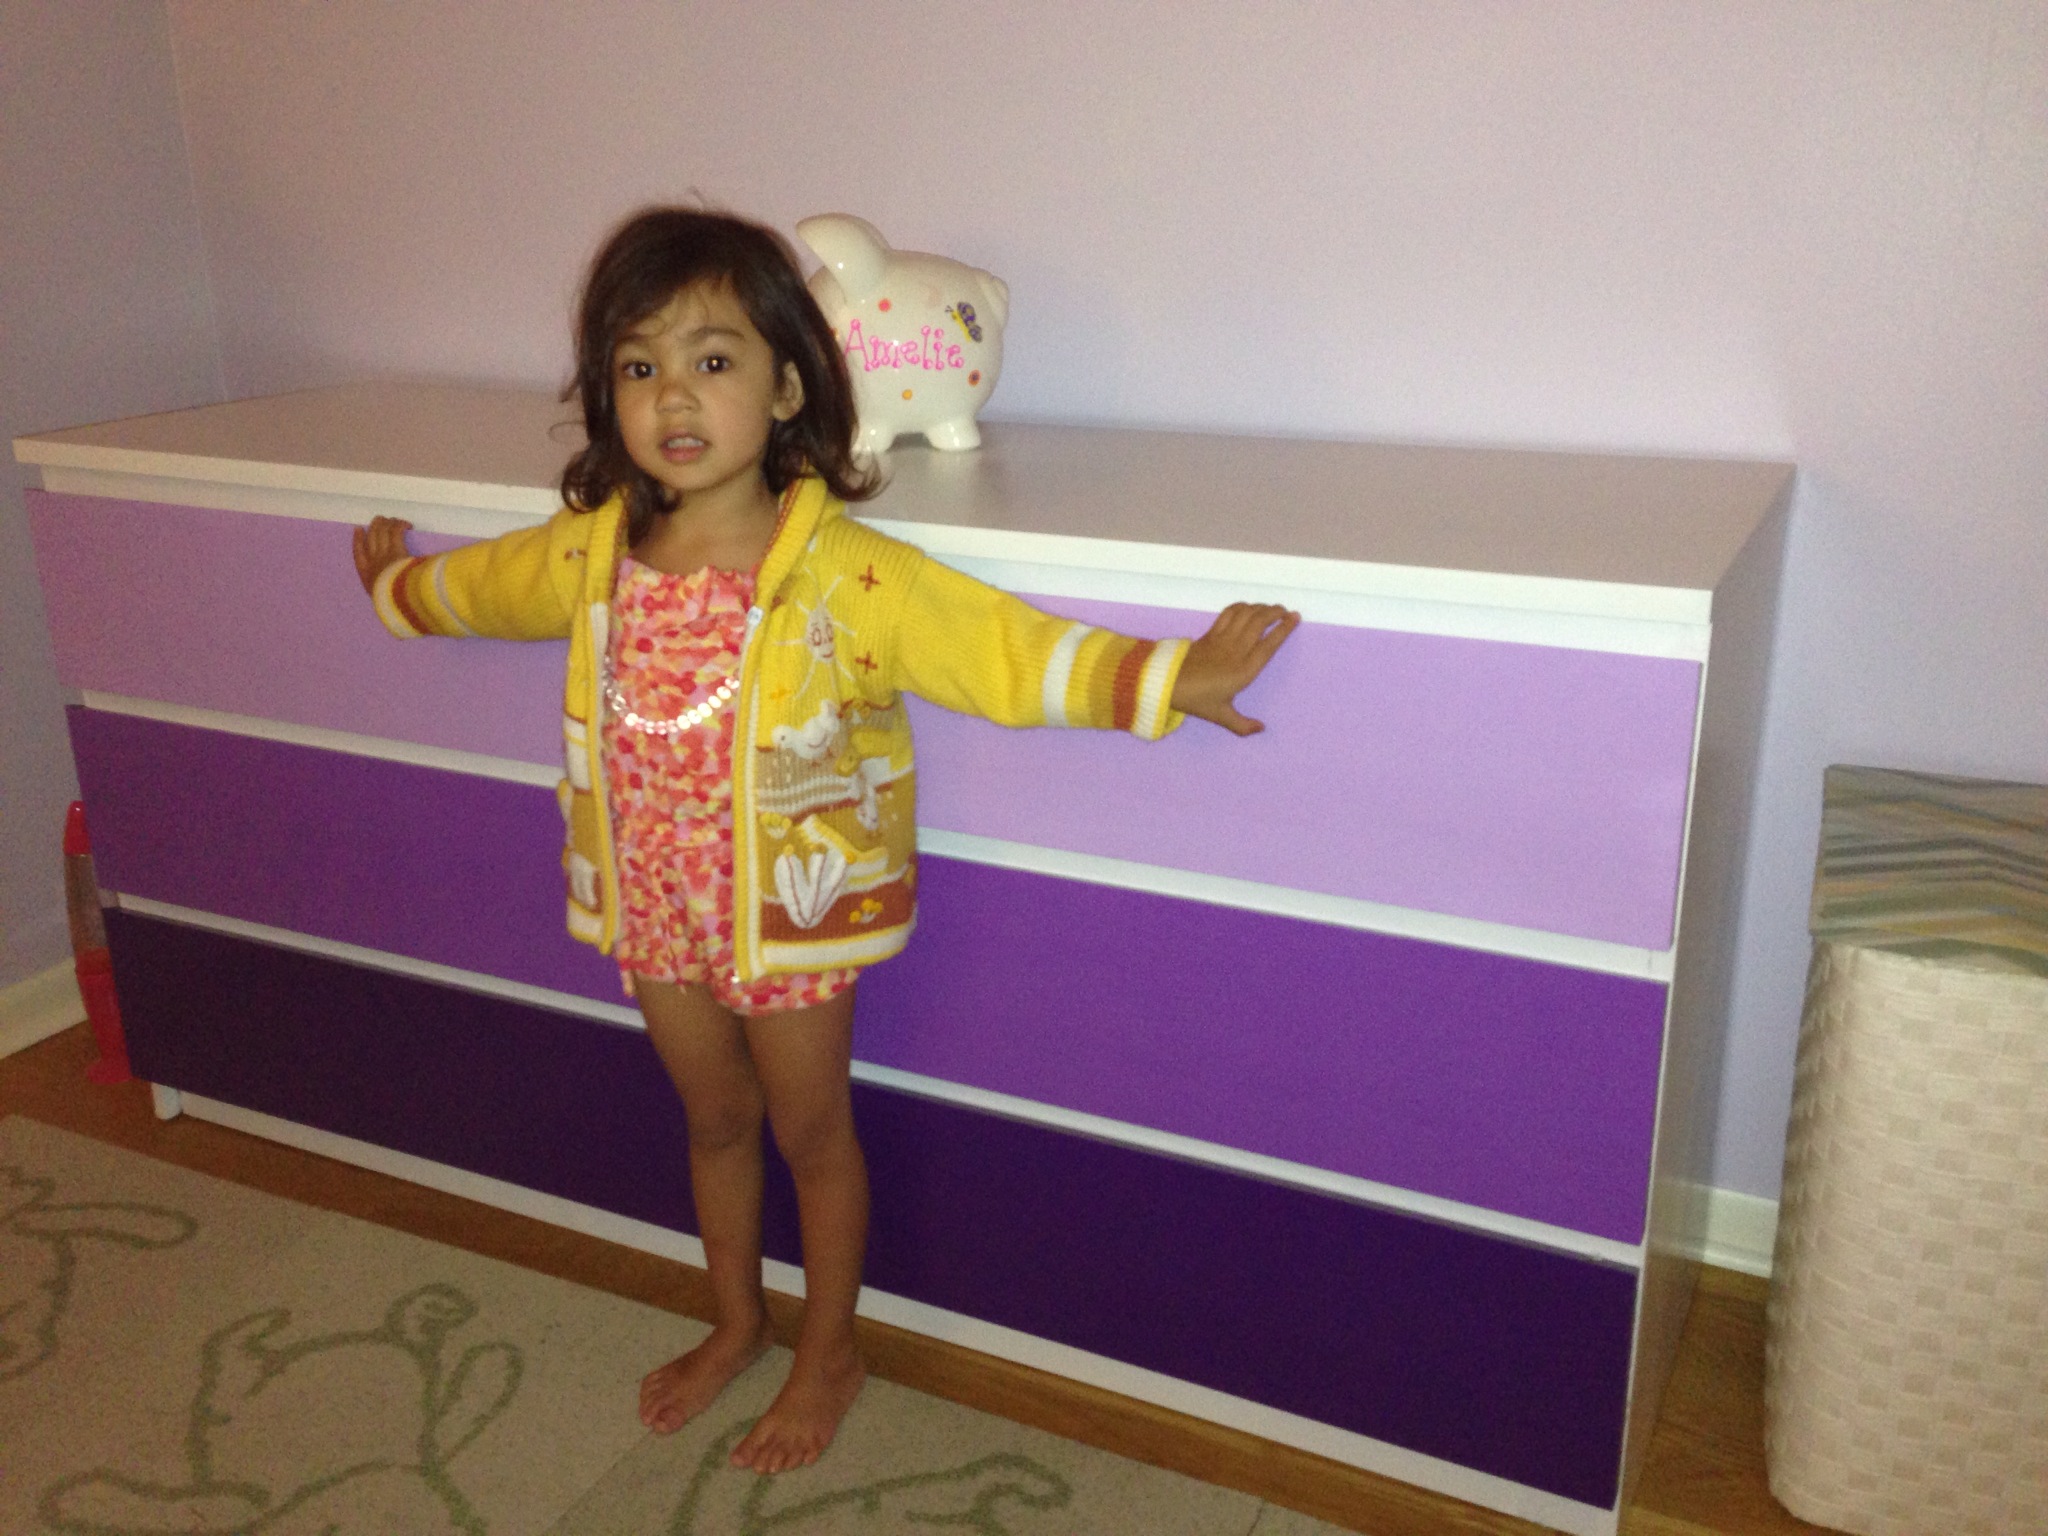
I got into a groove, switched out the foam and repeated the process several times. And eventually it looked like this!
When the painting was done, I sat for a little while admiring my work! The next day I applied two coats of polycrylic sanding between coats, and declared it another Made Lovely project in the books!

Overall, this job was one of my favorites. I love the fact that it is in Melie’s room and my youngest client to date was happy with the result.💜
 Wishing you all things lovely,
Marie

Love it!
Love it!!!